Smoothing walls
Seasoning plasters
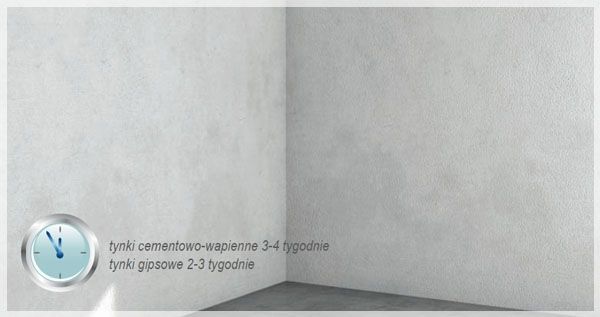
Fresh cement-lime plasters can be filled only after about a month from their application; gypsum plasters - after about 3 weeks - it is time necessary for the plaster to be well set and for all the courses of chemical reactions to be completely finished.
It is recommended that all new base coats (owing to their high absorbtiveness) be clearcoled by using Strengthening and Priming Impregnate Śnieżka SUPER-DOM.
A. Checking base coat adhesion
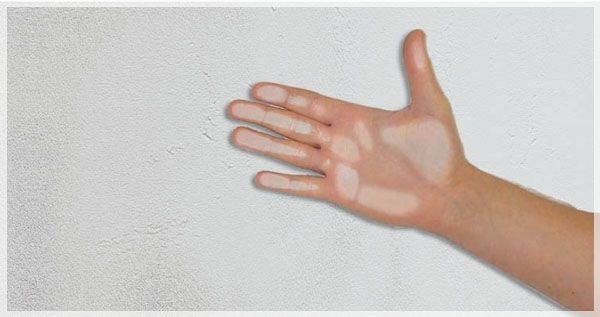
In case of filling the walls with old paint coatings, the base coat must be properly prepared. A precise checking the substrate adhesion is a very important operation concerning actual adhesion of the applied layers of filler. If the renewed base coat is too chalky, i.e. leaving traces when rubbed with the hand, it is necessary to impregnate the whole with Strengthening-Priming Impregnate Śnieżka SUPER-DOM.
B. Checking the adhesion of old coverings
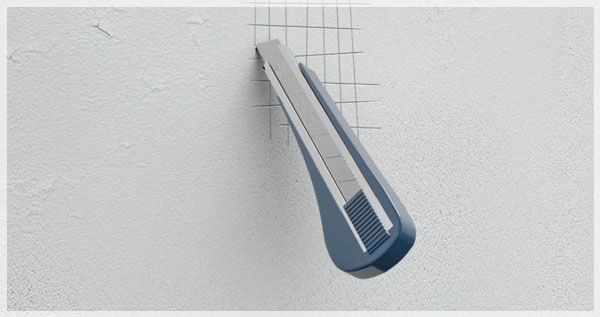
In order to check the old coating adhesion to its base coat, it is recommended to use local checking test. To implement it, on the surface selected to be tested, make a few delicate cuts in a form of intersecting vertical and horizontal lines. Spacing between the lines should be 4-5 mm.
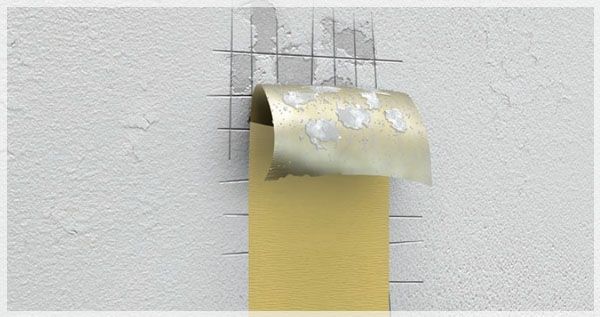
Then stick the masking tape to the notched area and tear it off vigorously. If the tested covering in most area tear off from the base coat, it means that it should be removed and cleaned
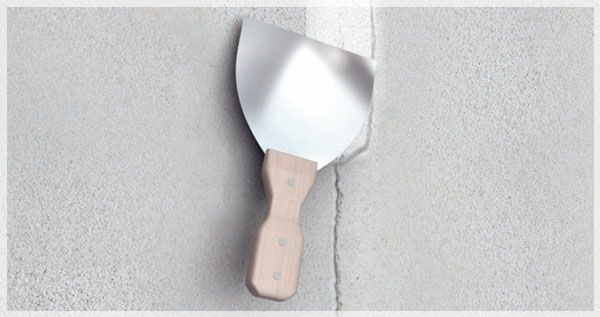
C. Removal of old coatings
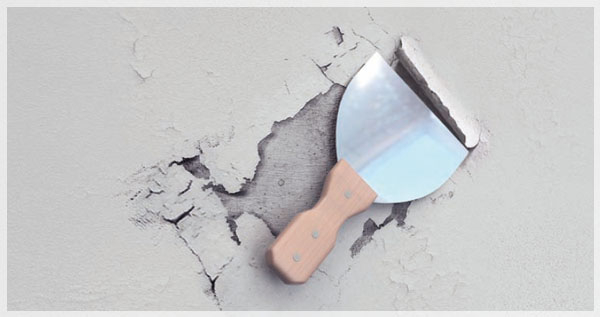
Before priming, remove, old paint coats loosely associated with the base coat by using a metal spatula.
Priming
In order to equalise the absorbency of base coat, strengthen it and to increase the adhesion of filler, the cleaned surfaces should be primed with Strengthening-Priming Impregnate Śnieżka SUPER-DOM. It prevents too quick absorbing water by the base coat. Thus, the proper conditions for drying of topcoats are ensured and coats permeable to vapours and gases are provided.
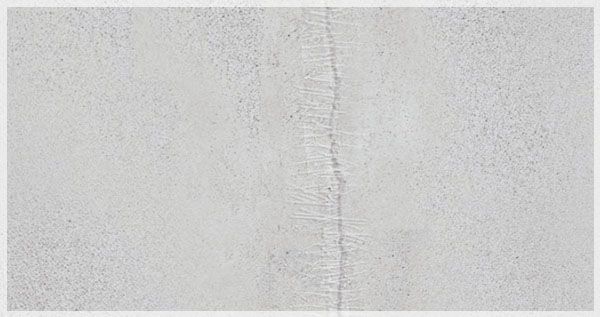
Repair scratches and cracks
For the removal of scratches and cracks wide up to 5 mm, it is recommended to use a flexible plaster ACRYL-PUTZ ® FLEX. Owing to glass fibres contained in a whole volume of plaster, it effectively prevents the formation of new cracks.
When dried up, it leaves a transparent coating with visible fibres, which can be covered by putties ACRYL-PUTZ® START, FINISZ (finish) or FASADA (front).
Repair of larger defects
Before the start to apply a levelling layer, it shall be repaired larger damages by using ACRYL-PUTZ® START. A single layer of this filler can be applied up to 3 cm of thickness.

Places especially susceptible to bruising, for example, corners of walls in the hallways, in stairwells, or the walls around the door, it is recommended to secure them with additional aluminium profiles.
Mounting corners should be started from the spot application of plaster ACRYL-PUTZ ®START, then press the cut to the required size the aluminium profile against the corner and set a correct line/level.
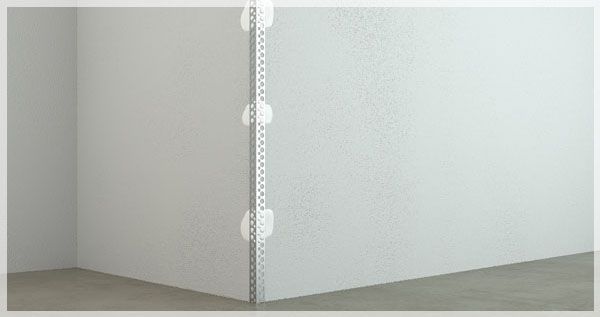
After about 30 minutes, the aluminium profile should be sunk into the applied plaster. The whole, when dried, shall be covered with another layer of plaster.
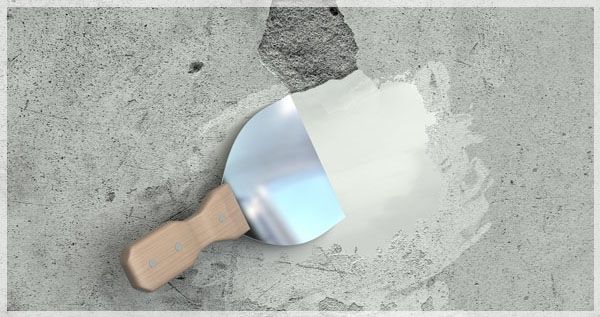
Smoothing a levelling layer
Filler ACRYL-PUTZ ® START is offered as a free-flowing mixture, therefore, before applying, it must be adequately prepared.
The amount of ACRYL-PUTZ® START prescribed to be applied, shall be poured into the container with water, in volume of about 1 kg of dry matter per 0.3 l of water, stirring continuously. Then thoroughly mix the contents of the container, preferably by using a drill with a mixer until achieving a uniform, easy to use mass. It should be noted that the prepared plaster is thoroughly mixed and does not contain any lumps.
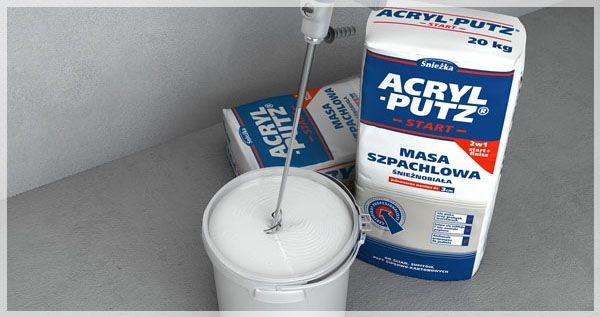
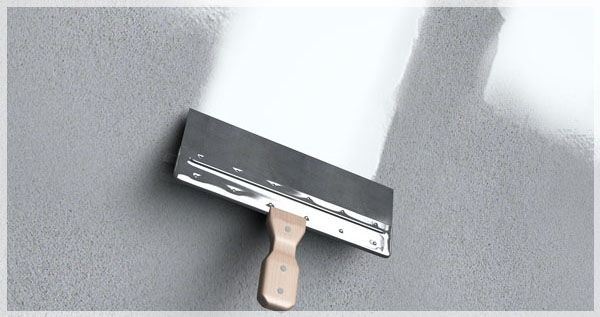
After about 5 minutes, stir the finished plaster again and apply with a stainless steel or plastic spatula or trowel. It is important that before making the next new batch of plaster the container/bucket is washed thoroughly.
For the application of the layer of plaster, generally it is recommended to use two stainless steel spatulas. First, of a small width, is used to weight gain and move the plaster on a wide spatula. The second, broad, is used to spread the plaster on the levelled surface. It is important that the spatula for spreading the plaster is constantly kept clean. Any unused plaster should be removed from it by using the smaller spatula.
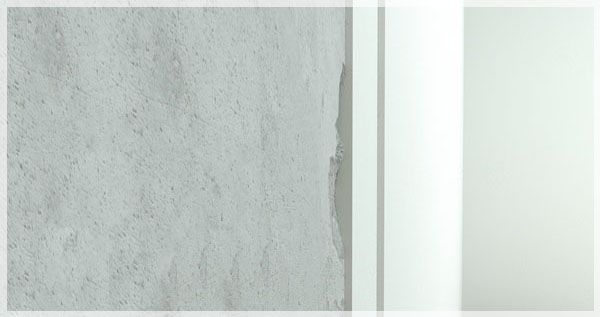
Applying the plaster is always started from the hard to reach places, the ceiling, and then we fill flat wall surfaces. The mass of filler ACRYL-PUTZ® START shall be applied with single layers thick up to ca. 3 mm. Thanks to this, the layer dries quickly and it is easier to achieve desired smoothness.

Smoothing - smoothing layer
ACRYL-PUTZ® START is characterised by low shrinkability, short time of drying and by using specially selected ingredients it provides a very smooth and white, and easy for sandpapering surfaces, which makes it a very universal product. It can thus be used to perform the final levelling layer.
The product that is specially recommended to perform a final smoothing the walls is ACRYL-PUTZ® FINISZ (finish). It is a ready to use, highest quality plaster, which at the time of application remains the same consistency, so it can be used for a long period of time. Perfect properties of the mass allow its application just for a thickness from ca. 1 mm, which is particularly useful in carrying out additional corrections on the renovated base coat; the not used mass, sealed, retains its usefulness to continue to be applied.
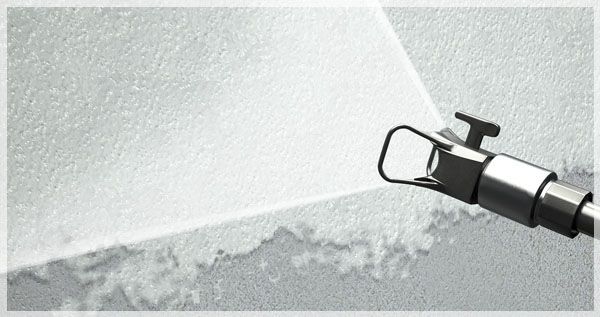
A smoothing mass ACRYL-PUTZ® FINISZ (Finish) is ideal for machine application. Simply, depending on your device, dilute the mass with the addition of to 5% of clean water. ACRYL-PUTZ® FINISZ should be applied with layers of thickness not exceeding 3 mm. Possible another layer impose after hardening the previous one.
Szlifowanie wygładzonych powierzchni
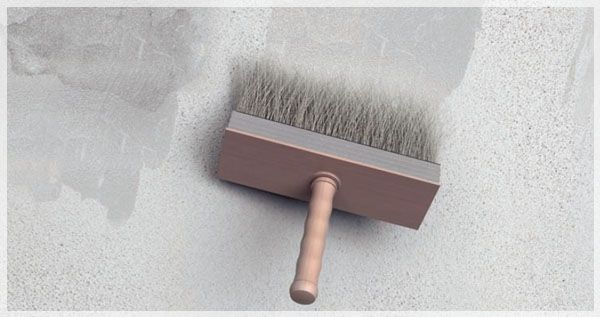
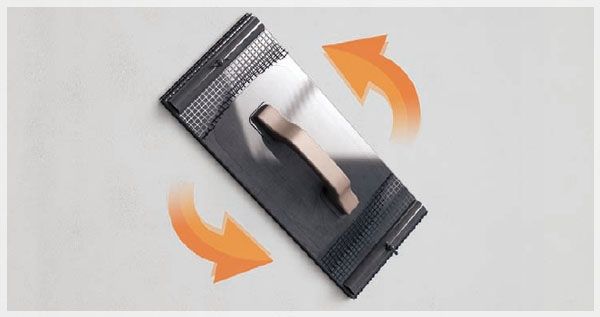
After drying, the plaster coat should be polished by using a trowel with sandpaper or abrasive mesh (thickness of ca. 100-150). For corners and confined areas, an abrasive sponge is particularly recommended.
Check of smoothing performed
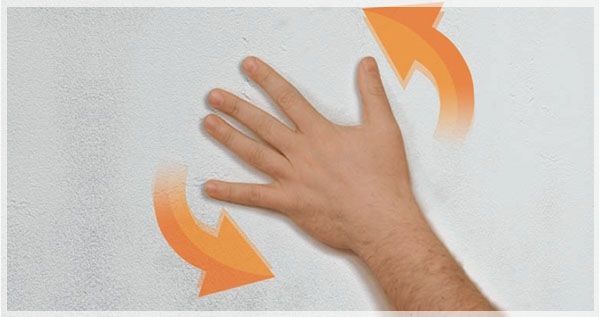
In order to check of the finished work, the light source (electric torch, lamp) should be directed parallelly to the wall. This will allow the perception of possible inequalities and wrongly polished places. Reground base coat shall be thoroughly dedusted before applying priming paint.
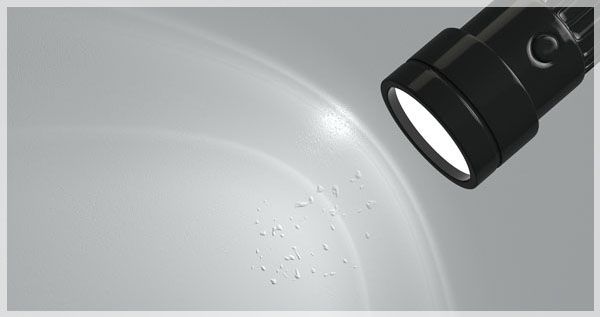
Przeszlifowane podłoże bezwzględnie należy dokładnie odpylić przed malowaniem farbą podkładową.
Preparing the smoothed coat for painting
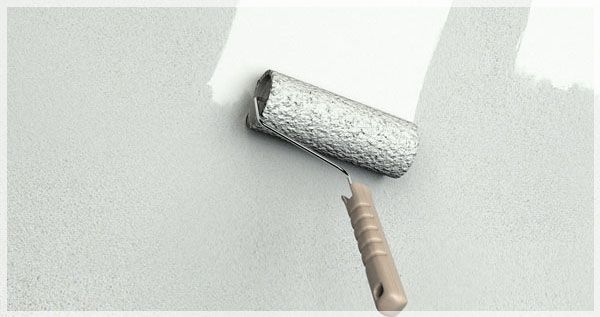
In order to compensate for absorption and to uniform the surface, before painting it is recommended to use a latex emulsion primer for interior called ŚNIEŻKA GRUNT (PRIMER). This product increases the capacity of topcoat paints, improving their coverage, and provides wall breathing.
Malowanie ściany farbą podkładową Śnieżka GRUNT
Produkt ten zwiększa wydajność farb nawierzchniowych, poprawia ich krycie, a także zapewnia oddychanie ścian.
Gallery :